This post was sponsored by Simon Says Stamp. Thanks, Simon!
Hi friends! Do you save your scraps and die cut leftovers? I am so bad about saving so many scraps (or maybe so good…. depends on your perspective, I guess) but sometimes I find the perfect use for a leftover die cut. I created THIS card using the beautiful Starburst cover plate die from the new DieCember release to to create a patterned frame with the negative die cut for my shaker card, but I made sure to keep the die cut itself to use on a future project! Let’s get started on the details for part two of my two-fer project!
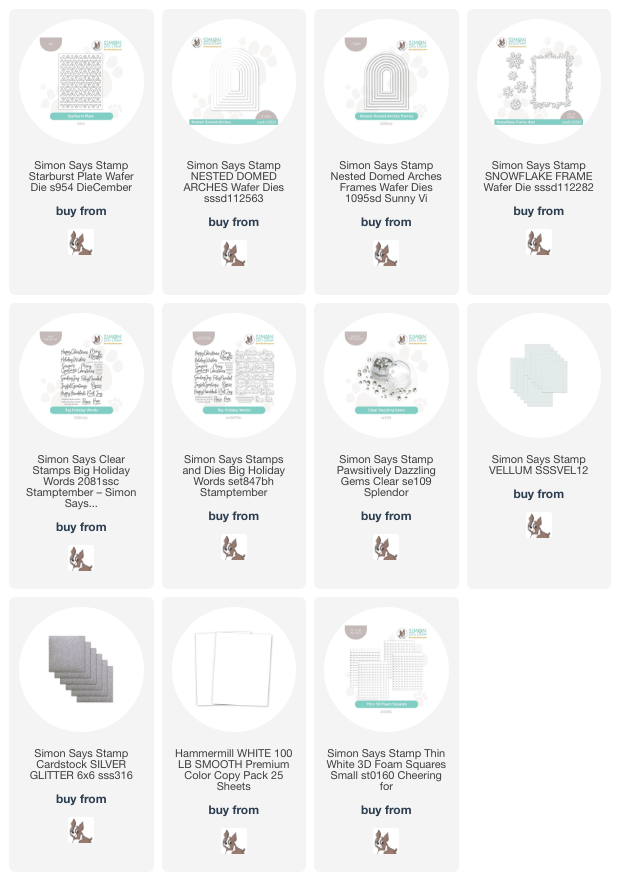
*I have gathered links to all of the products used at the bottom of the post for your convenience, using affiliate links. Thank you for shopping with my links! I truly appreciate your support for my work!*

For the part one of my two-fer, I began by die cutting the new Starburst Plate from plain white cardtsock, then used a Nested Domed Arches die to cut a window from the center of the patterned die cut panel. I used that patterned negative frame to create a decorative window around my snowman for the post linked above, but I reserved the die cut itself for this shaped card! I used the same size Nested Domed Arches die to cut a piece of Simon Says Stamp Vellum, which I layered behind the patterned arch piece with some liquid adhesive. I also used Simon Says Stamp Silver Glitter Paper to die cut one of the Nested Domed Arches Frames dies, slightly smaller than my patterned background die cut. I layered that frame over the top of my patterned piece with some more liquid adhesive. The vellum helps to add a softness behind the patterned piece, as well as adding some additional stability to the intricately detailed die cut.

To create the shaped card, I simply placed the largest size of the Nested Domed Arches dies on a folded A2 card, making sure to placed the die over the edge of the fold so that the folded card would remain intact. The I think this is such a unique look for a holiday card; it reminds me of a stained glass window at church! I layered the snowflake, vellum, and glitter piece in the center of the shaped card base, adhering it with some thin foam adhesive squares for a touch of extra dimension.

After I had created my card base and background, I used the marvelous Big Holiday Words stamp and coordinating die set to create my greeting. I heat embossed the large “Merry Christmas” and “& Happy New Year” sentiments onto more white cardstock using silver embossing powder, then die cut the finished sentiments with their coordinating dies. I popped them up in the center of the die cut panel using some more thin foam adhesive squares, creating lots of different levels of height and keeping the monochromatic card interesting! To add a touch of wintry sparkle to the somewhat plain card, I die cut some individual snowflakes using the Snowflake Frame dies and more silver glitter cardstock. I arranged them around the top of my arch in a little snowflake swag, embellishing the center of each snowflake with some Clear Pawsitively Dazzling Gems for extra holiday glitz!
Well, that’s all for today’s project. I love when you can get multiple uses from one die cut; it makes me feel better about not wanting to throw away my scraps!! (I know I’m not the only one who does that!) Thanks so much for stopping by today, and Happy DieCember!