This post was sponsored by Simon Says Stamp. Thanks, Simon!
Hi friends! I have some inspiration to share with you using one of my favorite sets that I’ve ever illustrated: Old Fashioned Christmas. This set was inspired by my husband’s love of bourbon (and his extensive collection). I went to make him a birthday card and couldn’t find anything that would suit him perfectly, so I knew that this would fill an empty niche in my stamping collection! I find myself a bit intimidated when it comes to coloring things that are not flowers, so I thought it might be helpful to show you how I colored the cocktail and whiskey decanter from this new set. Watch the video below or HERE on YouTube:
*I have gathered links to all of the products used at the bottom of the post for your convenience, using affiliate links. Thank you for shopping with my links! I truly appreciate your support for my work!*

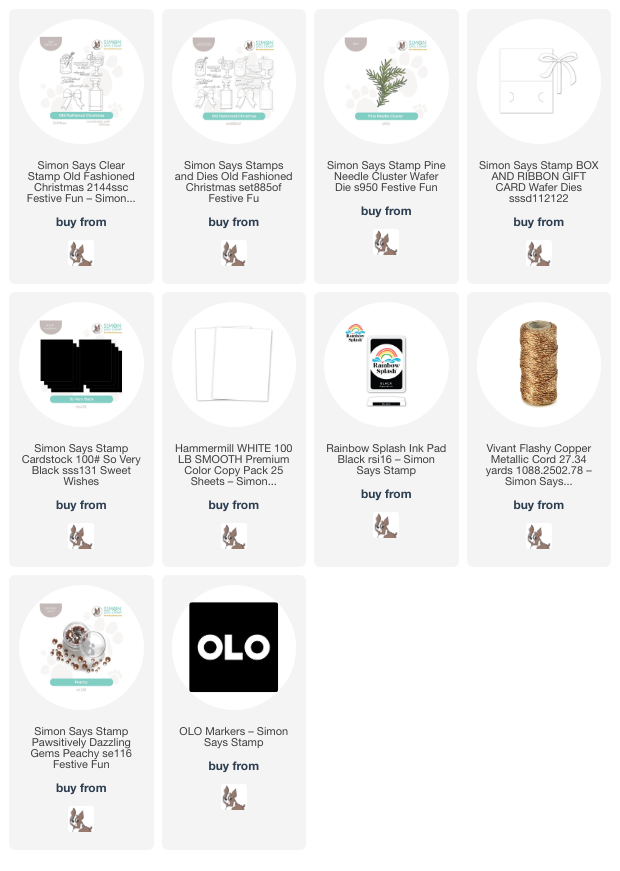
In case you can’t watch the video, I’ll give a quick rundown of my process for creating this gift card holder. I began by stamping the images from Old Fashioned Christmas onto some Hammermill cardstock using Simon Says Stamp’s Rainbow Splash Black Ink, which is alcohol marker-compatible! I then used OLO Markers to color the images, using very pale gray-blue markers with my colorless blender marker to create the glass and highlights, then adding warm burnt orange and coppery brown to create the whiskey inside the decanter. The cocktail was created using similar shades of coppery brown, this time with a pale pink “glaze” over the top to add some pink undertones, mimicking the cherry juice added to an old-fashioned cocktail! After I had finished coloring the images, I used the coordinating dies to cut the images out. I also used a black OLO Marker to color around the edges of the die cuts, making sure that there was no annoying white edge to detract from my crisp black background envisioned in my head.

For the base, I used the older-but-still-amazing Box & Ribbon Gift Card die, which is perfect for holiday gift giving! It cuts the notches out for you to quickly and easily slide a gift card inside. I die cut the Box & Ribbon Gift Card die from some Simon Says Stamp So Very Black cardstock. I also die cut a few white Pine Needle Cluster to place die cuts behind the whiskey die cuts to add some holiday festiveness to the card. I adhered the pine boughs to the black gift card with liquid adhesive and placed the whiskey die cuts over the top with foam adhesive.

After I had adhered my die cut pieces to the card, I created a sentiment from the Old Fashioned Christmas stamp set. When designing these sentiments for this set, I set aside my normal rule of “no puns” and created some adult-friendly puns that worked with the whiskey images in the set. I stamped the “making spirits bright” onto some more black cardstock using Simon Says Stamp White Pigment Ink, then added white embossing powder to create a super crisp and bright white sentiment! I used the coordinating die to cut the sentiment out and popped it up on the gift card holder using a double layer of foam tape. To close the gift card holder, I threaded some sparkling copper twine beneath the sentiment and tied it in a fluffy bow. Finally, I added a few Peachy Pawsitively Dazzling Gems for added sparkle, which I think perfectly complements the warm coppery whiskey and cocktail!
Well, that’s all for my project today. I can’t believe that Christmas is only 9 days away! Are you ready? I am ready in some ways, but I’m not ready for the creativity that holiday supplies brings out in me to be gone yet! So many different styles and color palettes and sparkles still to use. Thanks so much for stopping by today, and have a marvelous day!
