This post was sponsored by Simon Says Stamp. Thanks, Simon!
Hi friends! I have a pair of shimmering, sparkling holiday projects to share with you today using some utterly luscious new snowflake dies from the Simon Says Stamp DieCember release! After I completed my graduate program and got married, I began crafting in earnest as a hobby, putting my Cricut to use to personalize everything with my new last name. I purchased so many different items to personalize, but of course only had 24 hours in the day and had far more than I could ever use up. After I became a twin mom, some of those things got put in storage in my craft closet, never again to see the light of day…. until now. I have been trying to expand my crafty time to create things a bit more tangible and longer-lasting, like my felt cardinal ornament (click HERE to see it!) and the felt stocking gift card holder (click HERE to see that one), and my framed snowy holiday decor (click HERE to see those!). Today’s project puts some of those long-forgotten blank wooden ornaments to use with the gorgeous new Snowflake Swirl die, then decided to create a matching card for a sparkling snowflake gift set. Let’s get started with the details on my projects!
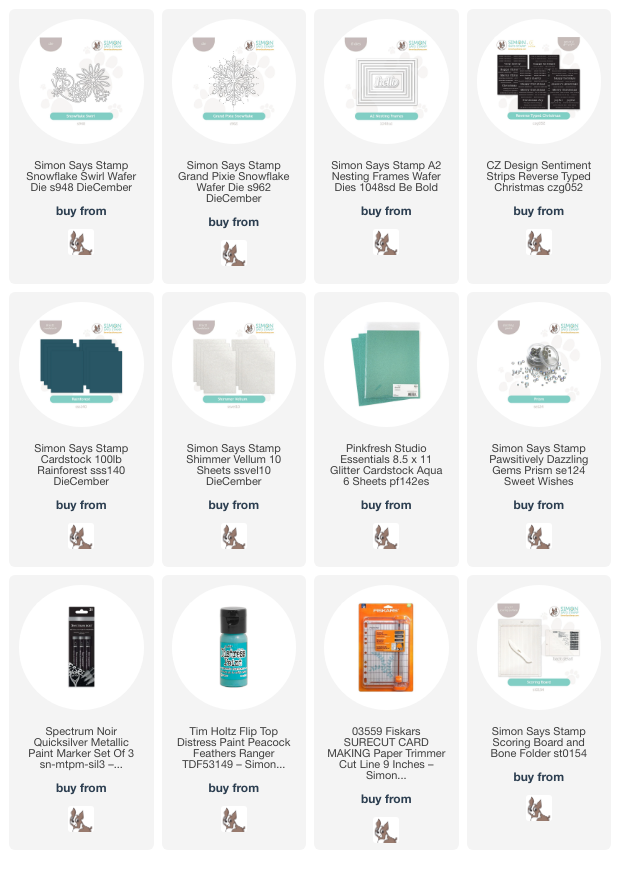
*I have gathered links to all of the products used at the bottom of the post for your convenience, using affiliate links. Thank you for shopping with my links! I truly appreciate your support for my work!*

My projects were inspired by the beautiful, intense teal of the new Simon Says Stamp Rain Forest cardstock. I can never resist any shade of teal…. teal, turquoise, pool, aqua, and all variations. Blue+green=perfection in my eyes. The new shades of cardstock that were released with the DieCember release are so deeply saturated with vibrant color and die cut beautifully; they’re all wonderful additions to your craft room! I used the beautiful (and perfectly coordinated) Peacock Feathers Distress Paint to paint my blank wooden ornament before adding any embellishments.

While I waited for my painted ornament to dry, I worked on my matching snowflake Christmas card. I began by creating a card base from some Simon Says Stamp Rain Forest cardstock, using the Simon Says Stamp Score Board and used the handy guide wire on my Fiskars trimmer to cut out a window from the center of one side of the scored card. I backed the window with some of the new Simon Says Stamp Shimmer Vellum, creating a shimmery, semi-opaque window upon which I could build my project.

After I had created my background, I die cut the new Grand Pixie Snowflake from some Pinkfresh Studio Aqua Glitter cardstock and mounted it in the center of my shimmery vellum window with liquid adhesive. To help draw the eye to the center of the card and also add another touch of shine, I added a silver holographic foil frame cut using the A2 Nesting Frames dies. After I had added a foiled Reverse Typed Christmas to the center of the snowflake with some foam adhesive, I used some liquid adhesive to add lots of Prism Pawsitively Dazzling Gems to the snowflake and the corners of the shiny foil frame. This card has so many different shimmering elements on it, which I think makes it perfect for Christmas!

After I had allowed the deep teal paint to dry completely on my blank wooden ornament, I used a silver paint pen on the top of the ornament and on the edges to make things look nice and neat. To adorn my painted ornament, I die cut the Snowflake Swirl die twice from some more Pinkfresh Studio Aqua Glitter cardstock. I adhered one of the die cuts in the center of the painted ornament with liquid adhesive, then used my sharp scissors to add small portions of the intricate die cut around the edges of the ornament, filling in any blank spots.

After I had finished gluing the sparkling snowflakes to the ornament, I added lots of super sparkly Prism Pawsitively Dazzling Gems. These Pawsitively Dazzling Gems are made of glass, and I cannot overstate how very sparkly and shiny they are! I used more liquid glue to adhere them to the snowflakes, adding a bit more texture and shimmer to the ornament. Finally, I added a fluffy bow tied with some coordinating teal ribbon and a loop of ribbon from which the ornament could be hung on the tree. I think I am going to make a bunch of these in different colors to adorn my holiday cookie gift boxes! So fun!
Well, that’s all for my projects today! Do you enjoy making handmade decor with your papercrafting supplies? I love finding lots of uses for my crafting supplies outside of their initial intended uses! Thanks so much for stopping by today, and Happy DieCember!
PS: Don’t forget that with every $25 Tim Holtz purchase, you can receive this adorable Be of Good Cheer die set set from Tim Holtz! Click HERE to check out all of the goodies eligible for the promotion! I used the Santa set to create THIS sweet little tag. The acrylic paint that I used for my ornament today is Tim Holtz and coordinates beautifully with all of the colors in the Distress line!