This post was sponsored by Simon Says Stamp. Thanks, Simon!
Hi friends! With the Simon Says Stamp DieCember release and celebration of all things die cutting, I have been having so much fun with die cutting lately, pushing myself to move outside of my typical cards and wanting to do something with my newest obsession: felt! I recently fell down a felt and stitching rabbit hole, and so I am looking for any and all excuses to felt everything up. (I used felt with some of the new DieCember dies HERE to create the sweetest cardinal holiday ornament!) One of the reasons that I have been looking to expand outside of paper is that paper just feels so…. disposable, you know? Something that people can throw away without much afterthought. Felt and fabric feel a bit more permanent, something that has the power to last a bit longer, at least in my opinion. For my projects today, I paired a fun hot pink and lime color palette with a newer embossing folder and some dies to create this pretty gift set. Let’s get started with the details!
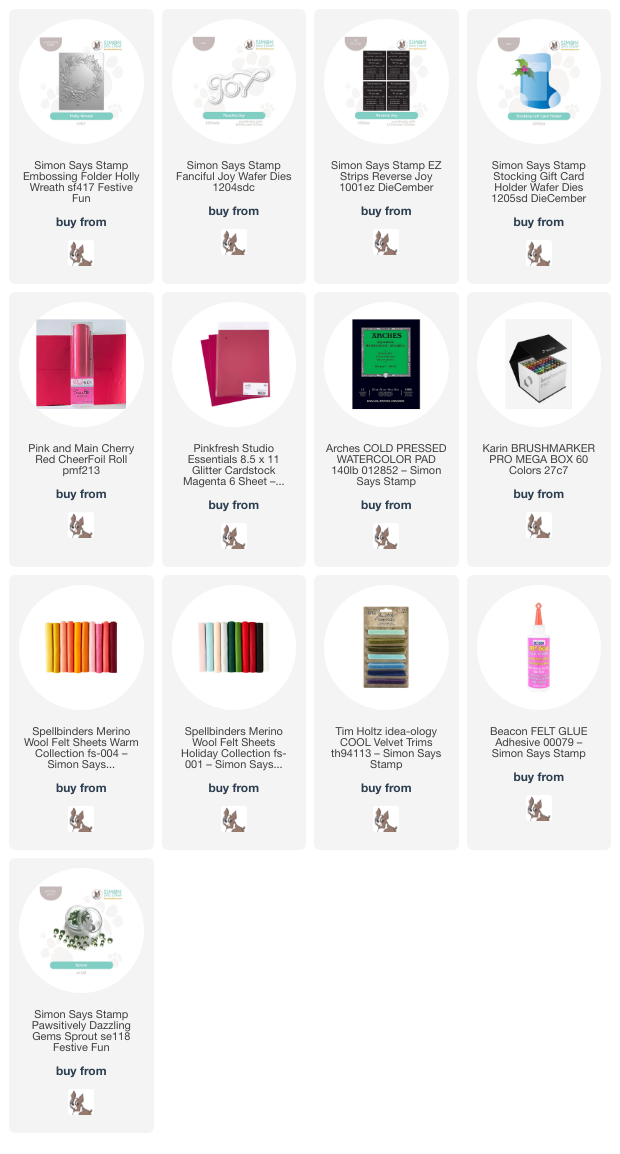
*I have gathered links to all of the products used at the bottom of the post for your convenience, using affiliate links. Thank you for shopping with my links! I truly appreciate your support for my work!*

I love watercoloring on embossed images using various watercolor mediums. The depth and dimension that you can achieve when pairing watercoloring with the 3D texture of the embossing folders is unmatched in my opinion! I love using Karin Brushmarker Pro Watercolor Markers with these embossing folders; their vivid color palette creates are wonderful to create unique and super colorful cards. I carried that hot pink and green color palette into my stocking gift card holder, as well, finding felt in my stash that matched beautifully!

I began by running an A2-sized panel of Arches Cold Press watercolor paper through my die cutting machine using the newer Holly Wreath Embossing Folder. The texture on the Arches Cold Press works beautifully with these deeply etched embossing folders. It’s amazing how much detail this heavy duty watercolor paper picks up! I used the Karin Brushmarker Pro Watercolor Markers with a damp paintbrush to add lots of vivid color to the images. When working with watercolor markers, I like to scribble the color onto my glass work surface, then pick up the color with my damp paintbrush. This allows me a bit more control over the concentration of the color while also helping to create the contrast needed to create definition on the images for this no-line coloring style of painting. After I had painted the main images, I pulled out my handmade shimmer watercolor palette and added some sparkling green to the pine boughs and some shimmering splatters around the edges. It’s so difficult to capture the sparkle and shine on this card in photos!

For the greeting, I paired the new Fanciful Joy die set with the coordinating greetings in the Reverse Joy EZ strips. These user-friendly strips are printed with toner, and so can be paired with toner foil and a Minc or a laminator to create super shiny foiled sentiment strips that you can use to create buildable sentiments. I used Pink & Main Cherry Red Cheerfoil to add foil to these sentiments (don’t you just love that font?) and cut the detail layer of the Fanciful Joy die from some Pinkfresh Studio Magenta Glitter Cardstock and the shadow layer from vellum. I layered the sentiment pieces over the wreath, popping them up with some foam adhesive. I added a coordinating glitter accent strip and a pretty pink bow to accent the wreath and add additional texture. Finally, I added a few Sprout Pawsitively Dazzling Gems for even more sparkle!

For my second project, I used the new Stocking Gift Card Holder with some deep pink felt to create this sweet little gift card holder that can be used as an ornament after it’s fulfilled its gift-giving purpose! I am really enjoying using non-stitching dies to create fun stitched projects lately. I’m finding that my biggest limitation is my creative imagination!! I die cut the main stocking portion twice from deep pink felt and added the top portion using some white felt. Before stitching the two stocking die cuts together, I added some holly leaves and berries, adding some stitching details to the veins on the leaves with coordinating tone-on-tone floss. I also added some sequins and beads to the pale pink berries to add extra texture. I am in love with these pretty colors and the luxurious texture of the felt!

After I had stitched the berries and leaves onto my stocking, I used coordinating pink embroidery floss to stitch the stocking together, adding an olive green velvet ribbon loop to the top corner. I used felt glue to add the white “fur” to the top of the stocking; the felt glue keeps things nice and clean. I’ve been using felt glue a lot lately, making it super simple to put fun felt scenes together as easily as with paper and glue! For one last feminine touch, I added a coordinating olive green velvet bow next to my holly berries. Wouldn’t this be so cute hanging from a Christmas tree or embellishing a pretty Christmas gift?
Well, that’s all for my projects today! I still have so many fun things to share with you using the new DieCember release… if you’d like to receive an email each time I post, you can sign up to become an email subscriber so that you don’t miss any inspiration! I appreciate all of you very much! Thanks so much for stopping by today, and happy DieCember!