This post was sponsored by Simon Says Stamp. Thanks, Simon!
Hi friends! I am back with another project featuring some of the fabulous goodies from the new Simon Says Stamp DieCember release. I love a good shaker card; there’s something so festive and just plain fun about receiving a card that is filled with fantastic shaker bits and sequins. A shaker card always puts a smile on the recipient’s face, right? So it only makes sense to send Christmas Cheer with a super fun shaker card created with some creative die cutting and sparkling sequins. Let’s get started with the details!
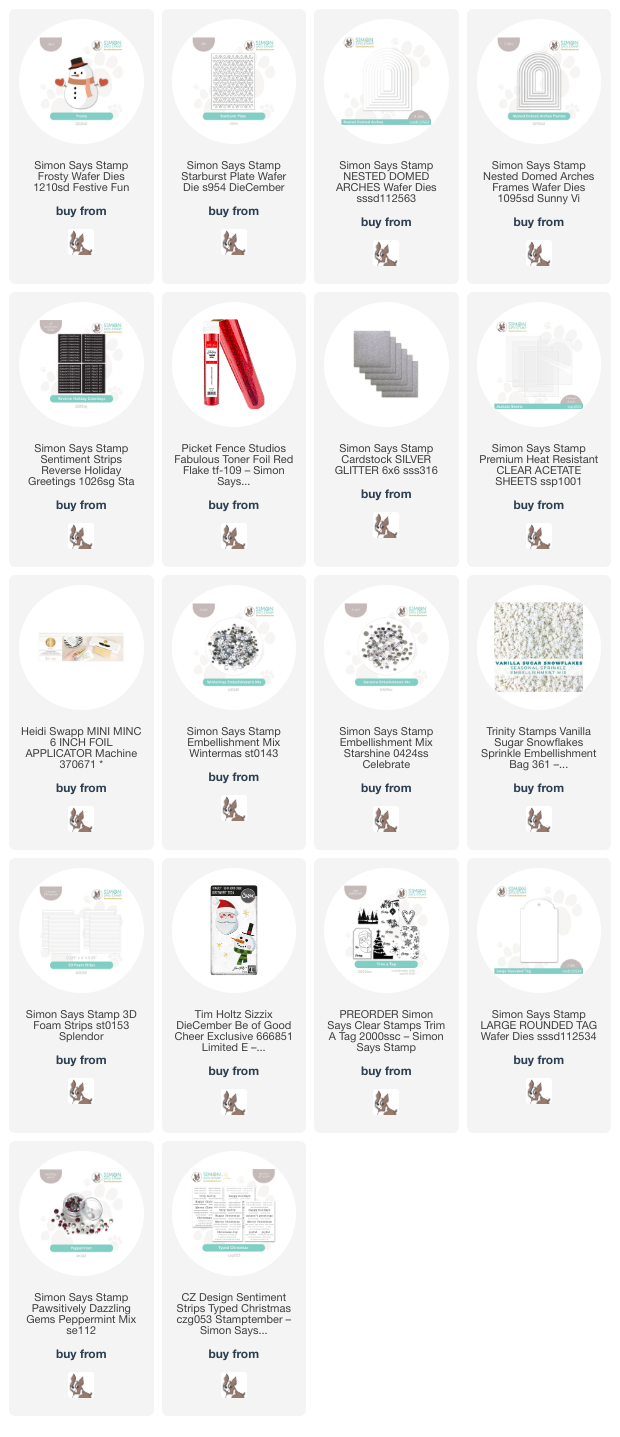
*I have gathered links to all of the products used at the bottom of the post for your convenience, using affiliate links. Thank you for shopping with my links! I truly appreciate your support for my work!*

I absolutely adore cover plates; they create such an enormous impact with one piece of cardstock and one pass through your die cutting machine. The new Starburst Plate is so beautifully intricate that I wanted to stretch that easily-created die cut even further by creating a die cut window with the negative space and a second card with the positive space! (More about that in a future post.) I began my project today by die cutting an A2 panel of white cardstock using the Starburst Plate, then placing the one of the Nested Domed Arches in the center of the die cut and running it through my die cutting machine again. I made sure to reserve the patterned, arched die cut for a future project, and backed the remaining negative piece with an A2 piece of acetate, creating a large, plain window to start my shaker card! I added an appropriately-sized Nested Domed Arches Frame die cut, cut from some Simon Says Stamp Silver Glitter Cardstock, creating a border around my window opening.

After creating my background, I used the previously-released Frosty snowman die with some colored cardstock to create the focal point for my project. The finished Frosty fits perfectly inside my arched window! I used the Simon Says Stamp 3D Foam Adhesive Strips around the edges of the back of my shaker front, then filled the entire shaker with some gorgeous and fun wintry sequins, adding a few plain red sequins to coordinate with the cheerful red scarf, mittens, and hat on my Frosty. I sealed up the shaker with a panel of plain white cardstock. I love how the sparkling sequins peek through the snowflake windows from the Starburst Plate die cut!!

For the greeting, I used my Minc Machine with Picket Fence Studios Red Flake foil to make the Reverse Holiday Greetings set look super shiny and festive. I trimmed the strip down and tucked it beneath my snowman with some more thin foam adhesive. Tucking the sentiment right beneath Frosty helps to ground him a bit so that he’s not floating in midair in my window!
Well, that’s all for my project today. Simon Says Stamp DieCember celebration is in full swing, and to make things even more special and fun, Simon Says Stamp is offering an exclusive freebie: Be of Good Cheer die set

You can receive this adorable Be of Good Cheer die set set from Tim Holtz with any $25 Tim Holtz purchase! Click HERE to check out all of the goodies eligible for the promotion!
I created a fairly quick tag using the sweet Santa die from Be of Good Cheer:

Some white embossed snowflakes on a cheerful red tag created the perfect backdrop for my happy Santa!

I added a few Peppermint Pawsitively Dazzling Gems, a cherry red bow, and a jingle bell to make things extra special.
Well, that’s all for me today. This fantastic freebie (valued at $16.99!) is only available while supplies last, so don’t wait! Thanks so much for stopping by today, and Happy DieCember!