This post was sponsored by Simon Says Stamp. Thanks, Simon!

Hi friends! So remember the crazy amount of fun we had in STAMPtember? Well, we’re about to turn our attention to that other, incredibly versatile and wonderful product that we all love to use in our craft rooms: dies! Yes, it’s time for the marvelous DieCember release with Simon Says Stamp, in which we celebrate all things dies and die cutting! I love stamping, of course, which inevitably led to die cutting with coordinating dies for stamped images, but I have grown to love standalone dies almost as much as I adore stamping. You can use standalone dies in so many ways and with so many techniques; they’re wonderful for creating vibrant, color-saturated projects when paired with brightly colored cardstock, but I have also been loving pairing them with felt lately to create a completely different and gorgeously textured finished product. I have a pair of projects to share with you today using some of the marvelous new products from the Simon Says Stamp DieCember release, so let’s get started with the details!

I have always had a special place within my heart for cardinals being from St. Louis, and I have really loved seeing them out in my yard especially since I lost both of my grandparents. I am sure you’ve heard that “cardinals are visitors from heaven,” so I always like to think of them as my Grammy and Papa stopping by to say hi. When I saw the beautiful new Winter Cardinal dies, I knew that I wanted to use it straightaway. I recently have become obsessed with using felt to create projects that will last a little longer than just a card made of paper, so I pulled out some beautiful shades of red felt and a few stitching supplies, as well as some coordinating cardstock to create a beautiful ornament and matching card.

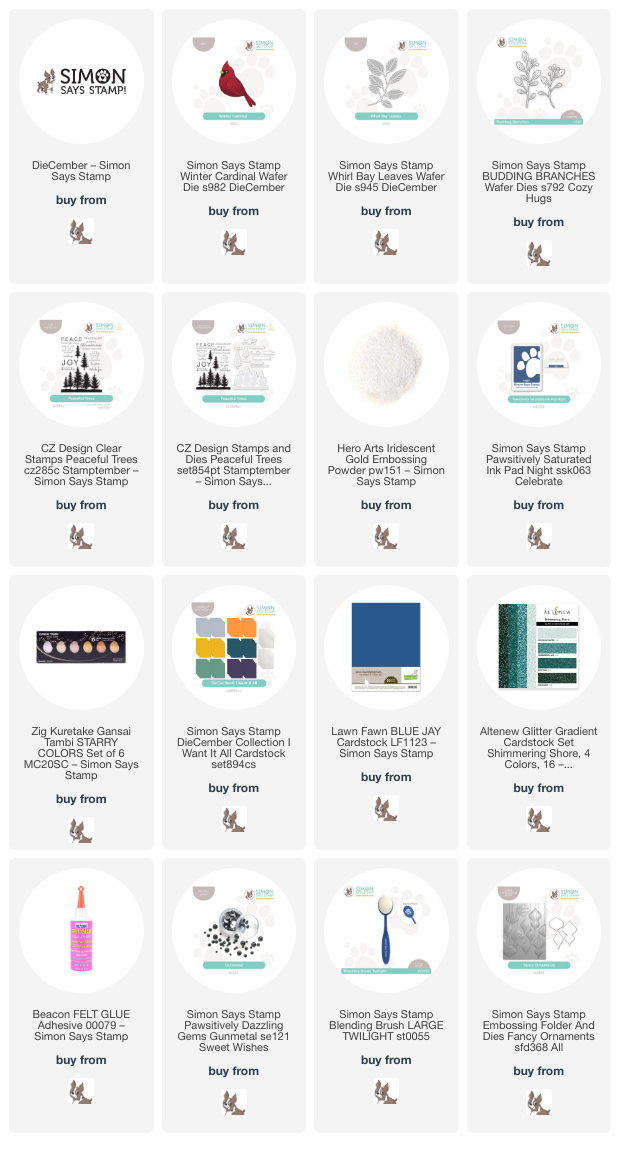
To start, I die cut the different layers of the Winter Cardinal from some cherry red and deep maroon felt, adding accents of black and pale yellow for the face on the cardinal. My stitching skills are still something upon which I am working, so I used felt glue to adhere the layers together to create a lovely layered cardinal. I also used glue to attach a shimmering Gunmetal Pawsitively Dazzling Gem for the cardinal’s eye.

To create the ornament, I filled a small embroidery hoop with navy blue fabric. I used some sage green felt from my stash to die cut the new Whirl Bay Leaves die, then adhered it to the navy blue fabric in my embroidery hoop using more felt glue. I nestled the cardinal amongst the leafy branch with the fabric glue, then used a needle and thread to add some sequins and beads to the little scene, tying in some more red to the color palette and adding a bit of shine and sparkle. Finally, I added a coordinating sage green velvet bow with my glue gun and a sage green velvet loop to be able to hang the ornament on the Christmas tree! This is going to be a perfect gift for my mom as she recovers from a shattered ankle injury; she needs some encouragement right now, and my grandparents (her parents) always helped to give her the support that she needed.

To create the matching card, I die cut the Winter Cardinal again, this time from some incredibly vivid red cardstock. I think that this shade of red perfectly matches the vibrant crimson of the real cardinals that I just saw in abundance today; they really stand out so beautifully amongst the dreary winter landscape! I also die cut the new Whirl Bay Leaves die twice from some of the new Simon Says Stamp Sage cardstock. (The new cardstock colors are absolutely luscious and coordinate so beautifully with the Pawsitively Saturated Inks! So thick and luxurious and super smooth!) To add a bit of variety to my foliage bouquet, I die cut the older Budding Branches die from some deep green glitter cardstock from the Altenew Shimmering Shores Glitter cardstock pack. The combination of large and small leaves really helps make a full and lush “bouquet” of foliage amongst which I can nestle my regal cardinal!

After I had die cut all of the different components for my card, I used a blending brush to blend Night Pawsitively Saturated Ink on an A2 panel of Lawn Fawn Blue Jay cardstock, helping to add some interest behind my foliage bouquet. Before adhering my die cuts, I also splattered the blended background with some gold watercolor to add some shimmer to the card, as well as to mimic the tiny golden beads that I sewed amongst the leaves of my ornament. For the greeting, I heat embossed a sentiment from Peaceful Trees onto some more Blue Jay cardstock using Hero Arts Iridescent Gold Embossing Powder. I love how shimmery this gold embossing powder is; it’s so unique and full of shine, especially compared to other gold embossing powders. I adhered the die cut sentiments to the little scene, tucking a golden thread bow beneath it and adding a few iridescent red “berries” to the berry stems for added sparkle!
Well, that’s all for my projects today. To celebrate the start of DieCember, Simon Says Stamp is giving you a fabulous freebie! Simply follow the instructions on the graphic at the top of this post to receive the truly elegant Fancy Ornaments embossing folder, which is a $24.99 value. The addition of the coordinating die really makes this free gift an excellent and versatile addition to your craft room…. and who doesn’t love a freebie?
We aren’t doing a traditional blog hop today, but instead having a blog party. You can check out the wealth of inspiration using the excellent new DieCember release HERE on the Simon Says Stamp blog. Thanks so much for stopping by today, and have a marvelous day!
