This post was sponsored by Simon Says Stamp. Thanks, Simon!
Hi friends! I am back with a new project for Christmas using some of the newest goodies from the Simon Says Stamp-brand STAMPtember release! I could easily buy my weight each year in holiday crafting supplies, and so I always am eager to try out the new goodies as soon as I possibly can. I love the delicacy of the new Holly Bunch embossing folder; the intricate design is enhanced with a die that you can use to create dainty holiday greenery! I paired this new die with some vibrant cardstock to create a color blocked holiday card. Let’s get started with the details!

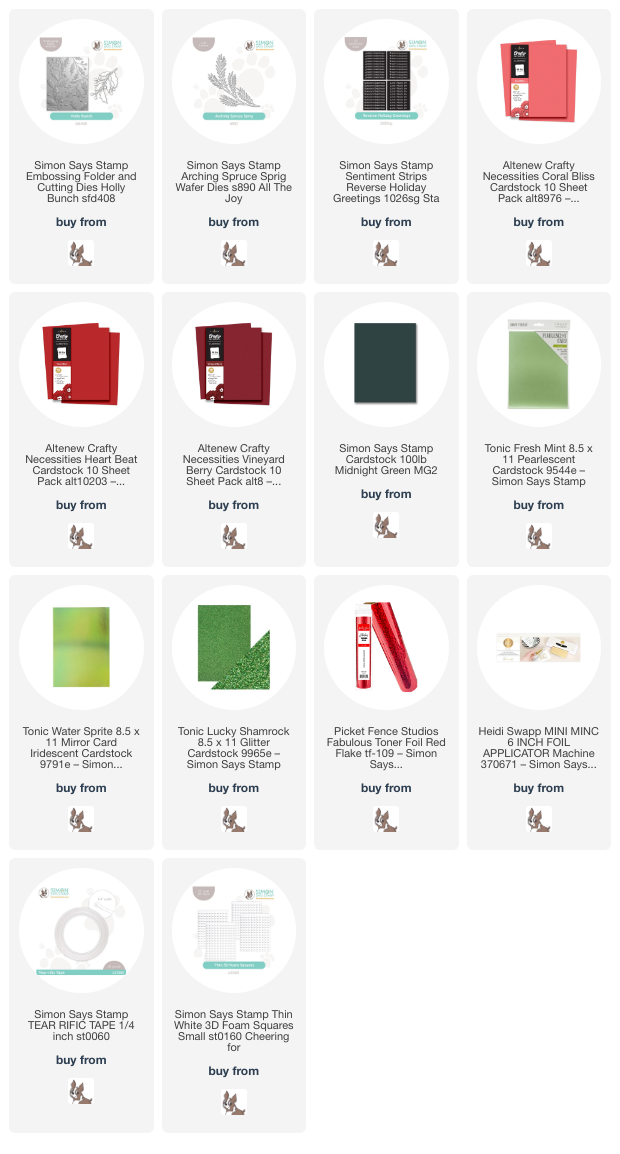
To begin, I die cut some sprigs from the new Holly Bunch embossing folder die from both Tonic Water Sprite iridescent mirror foil cardstock and pearlescent green cardstock, then embossed the images with the coordinating embossing folder. I also die cut some sparkling sprigs using green glitter cardstock and the Arching Spruce Sprig die.

To create the modern background for my project, I used several different shades of cardstock, which I will link below. I have never tried this technique before, partially because in my head the green-to-red mixture would create brown with blending, but I was able to find super dark versions of the green and red cardstocks, which flowed nicely into each other! I first covered my card base with 1/4″ wide Tear-rific Tape, then cut the four darkest colored cardstock in strips 1″ wide and the light green and light red in strips 3/4″ wide, totaling 5.5″ to cover the entirety of my card front. I adhered the cardstock strips to my adhesive-covered card front, creating this fun colorblocked ombré background!

I arranged the foliage die cuts on the vibrant background, adhering them with both liquid and foam adhesive squares, then added a sentiment. I used red glitter toner foil to add color to the new Reverse Holiday Greetings Strips with my Minc machine. I used a trimmer to trim out the sentiment and adhered it to a slightly larger strip of vellum, matting the sentiment a bit and helping it stand out from the colorful, busy background. Finally, I added a few shimmering iridescent gems for added sparkle!
Well, that’s all for my project today! I really love the effect of this color blocked cardstock. It created such a bold background without creating a muddy mess between the red and green. I’m definitely going to try this again! Thanks so much for stopping by today, and have a marvelous day!