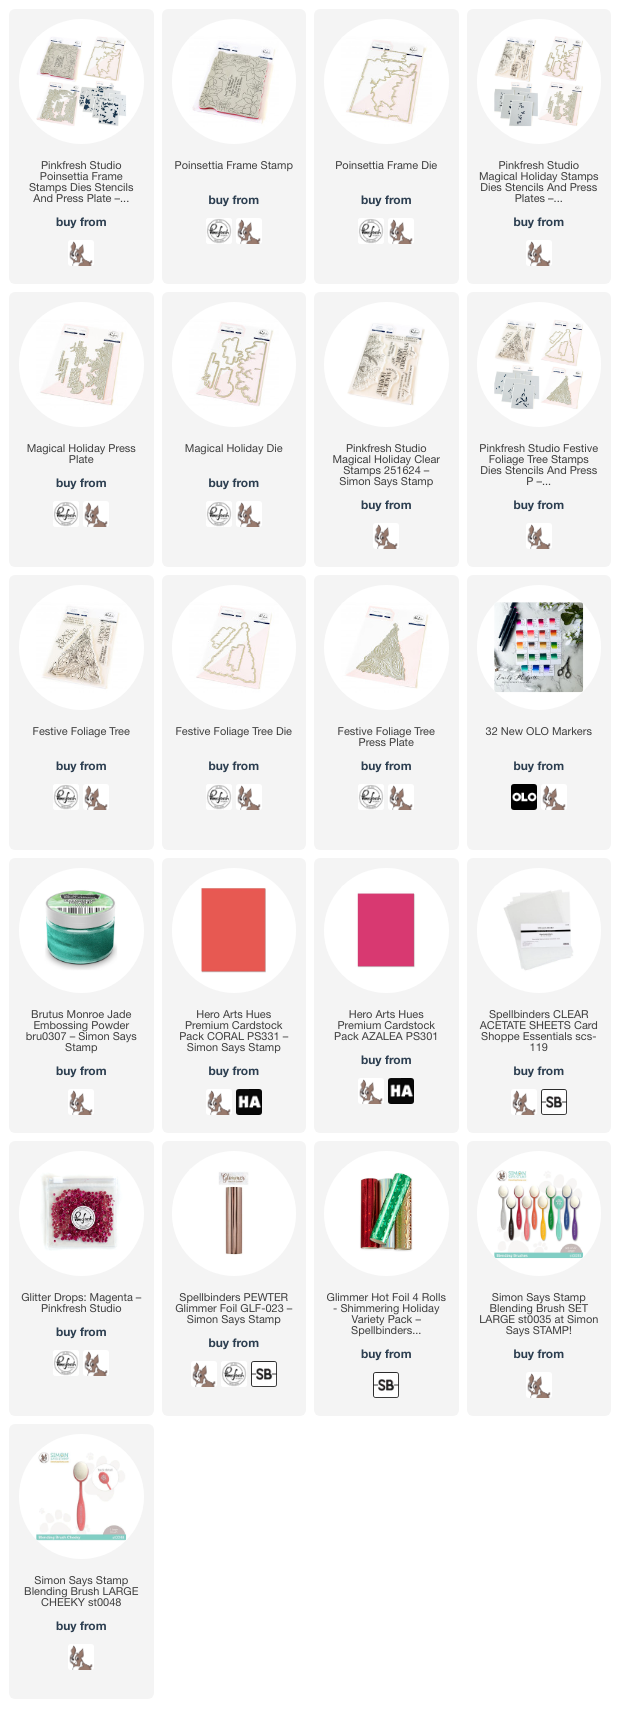
Hi friends! I am hopping along with Pinkfresh Studio today, sharing inspiration using their new Magical Holiday collection, featuring tons of absolutely gorgeous new stamps, dies, Press Plates, and stencils in classic and elegant holiday themes. You should have arrived here from Dawn, and your next stop is Enza. One of my favorite parts about this job is having a good excuse to be able to play with holiday goodies for more than just the last few months of the year! I am in love with the new collection from Pinkfresh Studio, with many new items illustrated by some of the most talented artists in the industry. I used two of the new product suites to create this incredibly vibrant pair of holiday cards, so let’s get started with the details!

I am always trying to create fresh holiday color combinations that tweak the traditional red and green, and so today’s combination of coral, magenta, and jade green is right up my alley! The reddish coral and vivid magenta are adjacent to the traditional cherry red, and they pair beautifully with the jade green.

For my first project, I used the beautiful new Poinsettia Frame stamp and die (all products will be linked at the end of the post!). I began by stamping the lovely festive frame image on some white cardstock using pale gray ink so that I could do some no-line coloring with my favorite OLO markers in shades of vibrant coral and magenta, adding in some jade green foliage. After I had finished my coloring, I die cut the image with the coordinating die, which cuts out the center of the frame as well as the edges of the image, creating a lovely and intricate floral frame.

After I had finished coloring this beautiful frame, I used a large blending brush to blend Peony ink around the edges of my white A2 card front, adding a bit of a coral-pink halo behind the floral arrangement. I popped up the floral arrangement on the blended background using thin foam adhesive squares. For the greeting, I hot foiled one of the classic holiday sentiments from the new Magical Holiday Press Plate set using a shining charcoal foil, then popped it up with a double layer of foam adhesive to help it stand out from the colorful background. I used one of the same OLO markers used on the florals to dye a length of white silk ribbon, tying it into a festive bow and tucking it amongst the die cuts with some liquid adhesive. Finally, I added some Magenta Glitter Drops to add a bit of sparkle for my holiday card! I don’t think you can ever have enough sparkles for a holiday card.

I kept that same color palette going with my second project, this time featuring some fun hot foil and die cutting techniques featuring the new Festive Foliage Tree product suite. I began by hot foiling the Festive Foliage Tree Press Plate into the center of a panel of heat safe clear acetate using some sparkling jade green hot foil. If you haven’t tried hot foiling onto acetate yet, this is your sign to try it out; the smooth surface of the acetate almost always yields near-perfect results with hot foil plates, both with delicate lines or more solid image, and you can do lots of fun techniques with the hot foiled images! I chose to create a window out of the negative space of the die cut, allowing the negative space to frame my shiny, shimmery hot foiled tree image. I used the coordinating Festive Foliage Tree die to cut the center of a panel of vibrant coral cardstock and arranged the hot foiled tree behind the opening. I adhered the acetate panel to the window, and could easily have created a shaker card using this technique!

After creating my foiled window, I trimmed the panel down a bit and blended some Raspberry Bliss ink from Pinkfresh Studio around the edges, creating a “glow” from the Christmas tree and making that vivid coral cardstock even more vibrant! I popped up the tree panel in the center of a vibrant magenta A2 sized panel of cardstock using some thin foam adhesive squares, then turned my attention to the greeting. The Festive Foliage Tree stamp set features some simple-but-still-elegant holiday sentiments, one of which I heat embossed onto some more of the deep coral cardstock using Brutus Monroe Jade embossing powder, pulling in that gorgeous green foil from the tree itself and tying all of the different elements together! I popped up the greeting with some more foam adhesive, then added a sparkling pink twine bow as the “tree topper” and a few Magenta Glitter Drops for some “ornaments” on the tree!
Well, that’s all for my projects today! Now for some fun giveaway information:
Pinkfresh Studio will be giving away the full release on the Pinkfresh blog & YouTube channel. They will also be giving away a total of TEN $25 gift cards along the hop. Winners will be selected from the comments, so the more comments you leave along the hop, the more opportunities you have to win!
Winners will be posted on August 13, 2024 on the Pinkfresh GIVEAWAY PAGE. Winners must check that page & claim their prize within 2 weeks.
Here’s the full hop list in case you get lost:
Thanks so much for stopping by today, and happy hopping!