This post was sponsored by Simon Says Stamp. Thanks, Simon!
Hi friends! We are more than halfway to Christmas (yikes, right?) and I thought I would share some “Christmas in July” inspiration on my blog this week! I am always up for an excuse to play with my holiday supplies, and dedicating a full week to Christmas cards during this obnoxiously hot week in the dog days of summer seems like a great way to beat the heat! I don’t use much red when working on non-holiday projects, so it seems only appropriate that red be a featured color on these projects. Sometimes, it’s hard for me to get into a holiday mindset when it’s so seasonally opposite of the holidays, but using the color red with some sparkles always helps! Let’s get started on the details for my project.

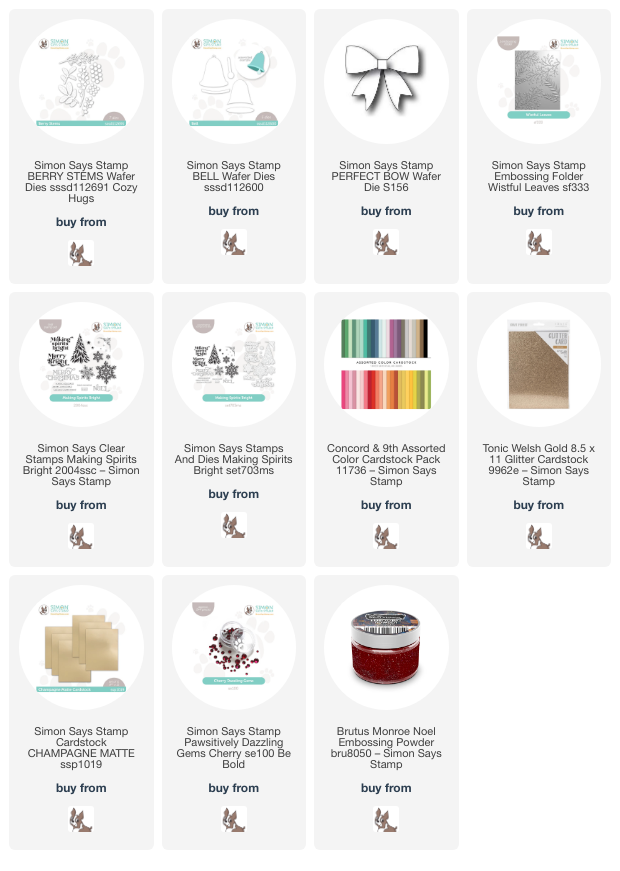
I began my project by die cutting the different elements of the Berry Stems die set from different shades of red and green cardstock in the Concord and 9th cardstock collection. I assembled the berry branches using two different shades of red berry just to add some extra variety. I also used Welsh Gold glitter cardstock to die cut some additional pine sprigs.

To adorn for my holiday foliage swag, I die cut the Bell die from some Champagne Matte foil cardstock and assembled the images with liquid adhesive, adding a glittery clapper cut from the same golden glitter cardstock used for the pine branches. I die cut a vivid red bow using the Perfect Bow die. It really is perfect; such a sweet size and the shape is wonderful! I just love a good bow.

Before I assembled my holiday arrangement, I ran a panel of white cardstock through my die cutting machine with the Wistful Leaves embossing folder. This somewhat neutral foliage background is the perfect textured backdrop for this arrangement of holiday foliage. I trimmed the panel down slightly and adhered it to the center of a white A2 card base, creating a thin, solid mat around the edges of my textured panel. I added the bells, foliage, berries, and bow to my card front using both liquid and foam adhesive for varying heights and dimension, then added a greeting from Making Spirits Bright, which I heat embossed using Brutus Monroe red glitter embossing powder. Finally, I added a few sparkling Cherry Pawsitively Dazzling Gems for added shine!
Well, that’s all for the first project for Christmas In July week here on my blog! Red, green, and white with some sparkly gold are classic Christmas, I think, and they’re a perfect way to kick off a week of holiday fun. Thanks so much for stopping by today, and have a marvelous day!