This post was sponsored by Simon Says Stamp. Thanks, Simon!

Hi friends! I am back with this month’s installment of my Songs of the Season series, in which I use a holiday song as inspiration for a coordinating holiday card (or two!). This month, I used that classic “Marshmallow World” as my inspiration piece, drawing from the beautiful, somewhat whimsical, snowy imagery to create both a playful A2 card and a more elegant and serene slimline card using goodies from Simon Says Stamp’s vast collection of holiday stamps and dies. Let’s get started with the details!
This song has always immediately taken me back to my childhood, as this Johnny Mathis album was one that we would have on repeat while doing all of the Christmas activities, from wrapping presents to making cookies, and while listening to it for my projects today, I was struck by the difference in mood the two sections have. The song starts out playfully, with a cheerful walking bass line under the melody and discussing the whipped cream day, and then the overall feeling shifts to be a bit more dramatic as you move into the second “world is your snowball” section. I wanted to play on those two contrasting tonalities with my two projects today.

For both projects, I kept things as white as I could to conjure up the sparkling winter wonderland that the song conjures up for me, using lots of white cardstock and sparkling accents, with just a touch of color on the cute little critters to break up the monochromatic palette.

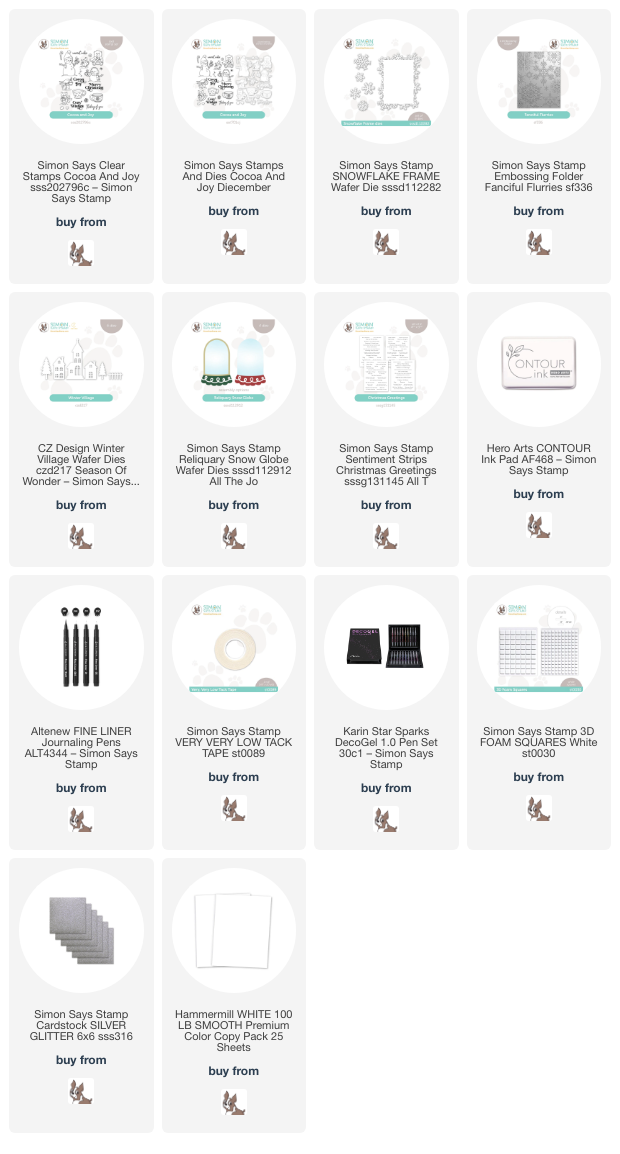
I started my first project by stamping a few of the images from the sweet Cocoa & Joy set, quite literally conjuring the “marshmallow” imagery with the cup of cocoa covered with whipped cream and marshmallows that the adorable little bear is holding! I stamped the images on Hammermill cardstock using Contour Ink, then used my Copic markers to do some no-line coloring with a warm gray, mint, and coral-red color palette, adding a few little details with a black fineline pen.

After I had colored and cut the images with their coordinating dies, I die cut the large Snowflake Frame die using white cardstock, then die cut the individual snowflakes from some sparkling silver glitter cardstock. I used some of Simon Says Stamp’s Very Very Low Tack Tape to mask the detailed snowflakes around the rectangular frame in the center so that I could splatter some “snowflakes” with silver glitter watercolors in the center of the die cut. I removed the mask, then added the silver glitter snowflakes with some liquid adhesive. I also used a silver sparkle pen to add some extra snowflakes on the background.
For the card base, I ran a panel of white cardstock through my die cut machine with the Fanciful Flakes Embossing Folder. I popped up the glittery snowflake die cut with foam squares, then added the sweet bear and mouse friends. A sentiment from Sentiment Strips Christmas Greetings finished the project off!

For my second project, I wanted to conjure that more somber shift in tonality from the second section of the song with a simple monochromatic shaker, adding some of the “evergreen trees” in the song with the Winter Village Dies. I started by trimming down a slimline card front, then trimming it even a little smaller by taking 1/8″ off of each side, making the final panel size 3 1/4″ x 8 1/4″. I centered the open shaped die from the Reliquary Snow Globe die set on this panel and die cut it, then eyeballed the center of each side, creating a line of snowglobe windows on my slimline card front. Before I backed the panels with acetate, I used a pencil to lightly mark the openings on my slimline card front so that I knew where to place my village elements. I backed the window panel with acetate and embellished the snowglobe bases with the bases and silver sparkle swirl die cuts.

I die cut the Winter Village Dies from some more white cardstock and arranged them on the areas that I marked with a pencil, adhering them with foam squares. Before adhering the frame windows, I added some snowflake sequins from my stash to create the shaker. For the greeting, I added a sentiment from the Sentiment Strips Christmas Greetings to create this sweet “marshmallow world” shaker card, made more special with a slimline size!
Well, that’s all for my projects today! I hope you are enjoying the Songs of the Season posts, even if it feels a little strange to see holiday projects this side of the Christmas season. I am enjoying stretching my creativity and putting products to use that I didn’t have a chance to play with during the Christmas season. Thanks so much for stopping by, and have a marvelous day!