This post was sponsored by Simon Says Stamp. Thanks, Simon!
Hi friends! I have a sweet little winter project to share with you today using some new dies from Simon Says Stamp’s DieCember release, as well as my newest obsession: felt! I have been having such fun figuring out which standalone dies I can use to create sweet little felt tags, ornaments, and gifts. The absolutely adorable Festive Snowman die was towards the top of my list of products with which I wanted to play when I opened my DieCember package, because oh my gosh, how sweet is he with his fat little top hat and sweet smile?! Let’s get started with the details on my project!
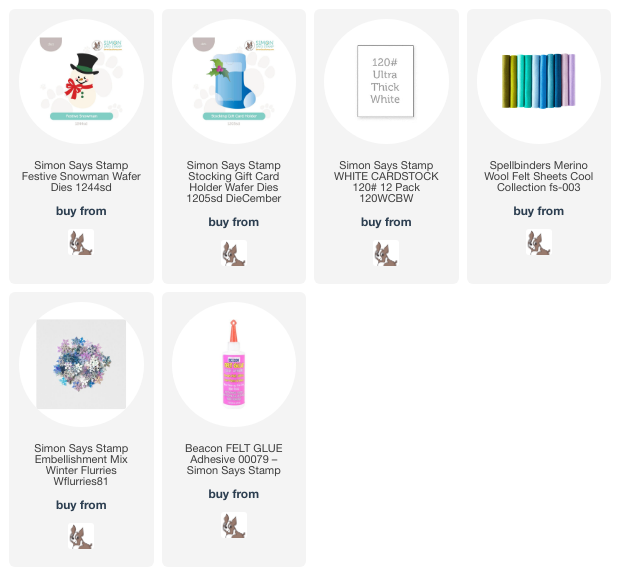
*I have gathered links to all of the products used at the bottom of the post for your convenience, using affiliate links. Thank you for shopping with my links! I truly appreciate your support for my work!*

Now, the design of the Stocking Gift Card Holder is quite versatile. You can cut two different stocking pieces and adhere them together to create a pocket for a gift card, you can use the gift card slot dies to create a little spot to securely place your gift card, or you can use just the stocking imagery to create a focal point (or tag in this case) for your project! I began by die cutting the base of the stocking from blue felt, then die cut the top piece from white felt. I adhered the two pieces together with felt glue and placed a heavy glass paperweight over the top to keep things nice and flat while it dried.

I die cut the adorable little Festive Snowman die from some felt in the correct colors, adhering all of the pieces together alone using more felt glue before adhering it to the now-dry stocking. To embellish the stocking and to make it look like a cute little stocking from Pottery Barn, I decided to use needle and thread with some snowflake sequins and seed beads to add some sparkling snowflakes around the snowman. I have never really stitched before these last few weeks, and I am wondering why I didn’t jump on this bandwagon more quickly, because it’s super fun! After I had finished stitching the snowflakes, I added some pompom trim to the top of the stocking to help it look even more authentic. It would be so cute to stitch a name on the top to make it look truly authentic and personalized, but I am still working on the satin embroidery stitch, and so didn’t feel skilled enough to try it. Maybe next time!

To create the “tag” portion and add some extra stabilization to my gift tag/ornament, I die cut the stocking base one more time from some Simon Says Stamp Ultra Thick White Cardstock. Before adhering the stocking to the back of the felt, I used some more fabric glue to add a loop of white ribbon for a hanger. I adhered the sturdy cardstock backer with more felt glue and placed it again beneath the glass paperweight to dry nice and flat. I think this would make the perfect addition to a special Christmas gift, and then can be repurposed as a holiday ornament, as I have done in the photo above! So sweet, right?
Well, that’s all for my project today. We are in that weird time loop between Christmas and New Year’s around here, where nobody knows what day of the week it is and we are perpetually snacking on things that are not very healthy. I enjoy the fun and (mostly) relaxed atmosphere, but this momma is also craving some routine!! I am missing my craft room very much! Thanks so much for stopping by today, and happy holidays!
