This post was sponsored by Simon Says Stamp. Thanks, Simon!
Hi friends! It is, somehow, the beginning of November, so I am going to be leaning in to the holiday posts as much as I possibly can while it’s “acceptable,” which I deem to be until Epiphany next year! I adore Christmas, I adore crafting, and I am absolutely tickled pink that it’s officially time to lean in to all things Christmas, sparkly, and cheerful. I think we all need some extra joy this year, and who doesn’t need a little more sparkle in their lives? I think that snowflakes are among the most beautiful and somewhat neutral imagery in the holiday arsenal; you can use them for simple winter cards or you can pair them with other imagery to make them specifically Christmas-themed. I have paired the gorgeous new Heartfelt Snowflakes stamps and dies from the Simon Says Stamp Sweet Wishes release with a vibrant fuchsia and plum color palette to create this trio of sparkling “winter” cards and tag, perfect for those who might not celebrate Christmas but still enjoy winter festivities. Let’s get started with the details!
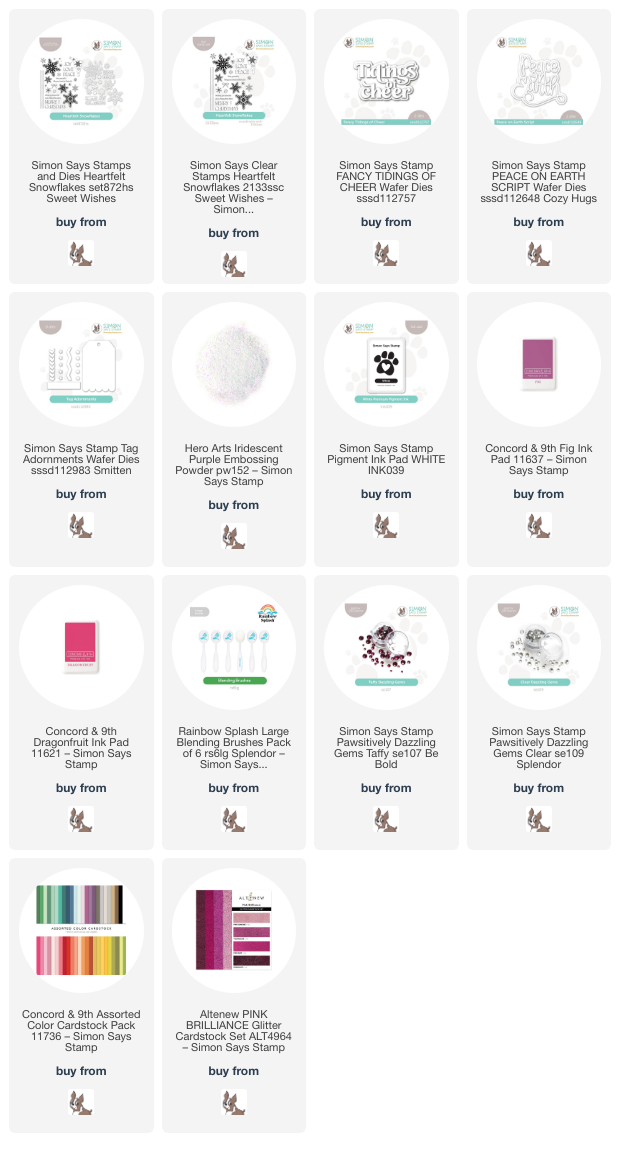
*I have linked all of the products used at the bottom of the post using affiliate links for your convenience. Thank you for shopping with my links! I truly appreciate your support for my work!*

For my projects today, I wanted to select a unique color palette that didn’t necessarily fit the typical “Christmas” color palette, since we were working with the beautifully unique snowflakes of the Heartfelt Snowflakes stamp set. I selected Dragonfruit and Fig from Concord and 9th’s gorgeous color palette. I began by arranging several of the snowflake images on an A2 panel of Fig cardstock, stamping the images first with Simon Says Stamp white pigment ink and embossing them with Hero Arts Iridescent Purple embossing powder. Pairing the white pigment ink and iridescent embossing powder creates a most beautiful, shimmery combination on the vibrant purple cardstock! I repeated the process with a second panel of Fig cardstock, creating two full panels of embossed snowflake patterned paper.

After I had created two panels of snowflake paper, I used the coordinating dies from the Heartfelt Snowflakes product suite to die cut the images, dividing them to create multiple projects. I trimmed down the remaining intact snowflake panel, then used a blending brush to blend Dragonfruit and Fig inks around the edges of the panel, creating a vibrant glow on the embossed panel. I also splattered the background with some sparkling handmade watercolors to add further texture and shimmer.

For the greeting, I die cut the detail layer of the Fancy Tidings of Cheer from pink glitter cardstock and the shadow layer from vellum, adhering the two together using liquid adhesive. I adhered the blended snowflake panel in the center of an A2 Dragonfruit panel of cardstock, leaving a bright pink mat around the edges, then used foam adhesive to add the sentiment die cut and some individual snowflake die cuts. I added Taffy gems to the center of the snowflake die cuts, finishing the card off with a sparkling pink twine bow!

For my second card, I used some of the leftover Heartfelt Snowflakes embossed die cuts to adorn a vibrant shaker card. I used blending brushes to blend Fig and Dragonfruit ink down the diagonal on an A2 panel of Dragonfruit cardstock, splattering the entire panel with some more sparkling watercolors. I used some leftover packaging to create a “flat” shaker pocket, filling the shaker with a variety of color-coordinated sequins and gems.

For the greeting, I die cut the detail layer of the Peace On Earth Script die set using some brushed lavender foil cardstock, backing it with a vellum shadow layer. I arranged some of the leftover embossed snowflake die cuts around the sentiment die cut, adhering them with liquid adhesive, then hiding the dimensional foam squares behind the solid die cuts. I added some Taffy gems to the center of the individual snowflake die cuts, creating a vibrant shaker card that is so festive and fun!

I had one large Heartfelt Snowflakes embossed die cut left, so I decided to use it as a focal point on a smaller tag. I die cut the scalloped tag die from the Tag Adornments die set using some super sparkly pink glitter cardstock, then mounted the snowflake die cut in the center of the tag using foam adhesive. I added some extra sparkle to the details of the snowflake die cut with some Taffy and Clear Pawsitively Dazzling Gems, finally adding a coordinating pink ribbon loop from which I could hang my tag on a package!
Well, that’s all for my projects today! Can you believe that I was able to create all of these projects from just two panels of embossed snowflakes? I love a good two-fer! Or in this case, a three-fer, ha! Thanks so much for stopping by today, and have a marvelous day!
