This post was sponsored by Simon Says Stamp. Thanks, Simon!
Hi friends! I am back for another Christmas In July post, this time featuring rustic red paired with dusty blue to give a more country-feel to these holiday cards. I love coming up with unique color palettes for holiday cards beyond the traditional bright red and green, and the combination of the maroon and dusty blue combination reminds me of a rustic holiday tree, complete with gingham bows, pinecones, and lots of berries. I wanted to try this color combination out on one of my own illustrations after working with the sweet birdhouse image from the Snowy Birdhouse, and so pulled out the magnolia image in the Holiday Blossoms set that I illustrated for Simon Says Stamp. I thought that the maroon magnolias would be beautiful on a holiday card! Let’s get started on the details for my projects.

For both of my cards, I used Arches Hot Press watercolor paper with some of my artist-grade watercolors. I have a rather extensive collection of watercolors from a variety of brands, but frequently find myself reaching for the same medium and brands over and over, and so am trying to use my artist-grade watercolors from Schmincke. The richness of the colors never disappoints!

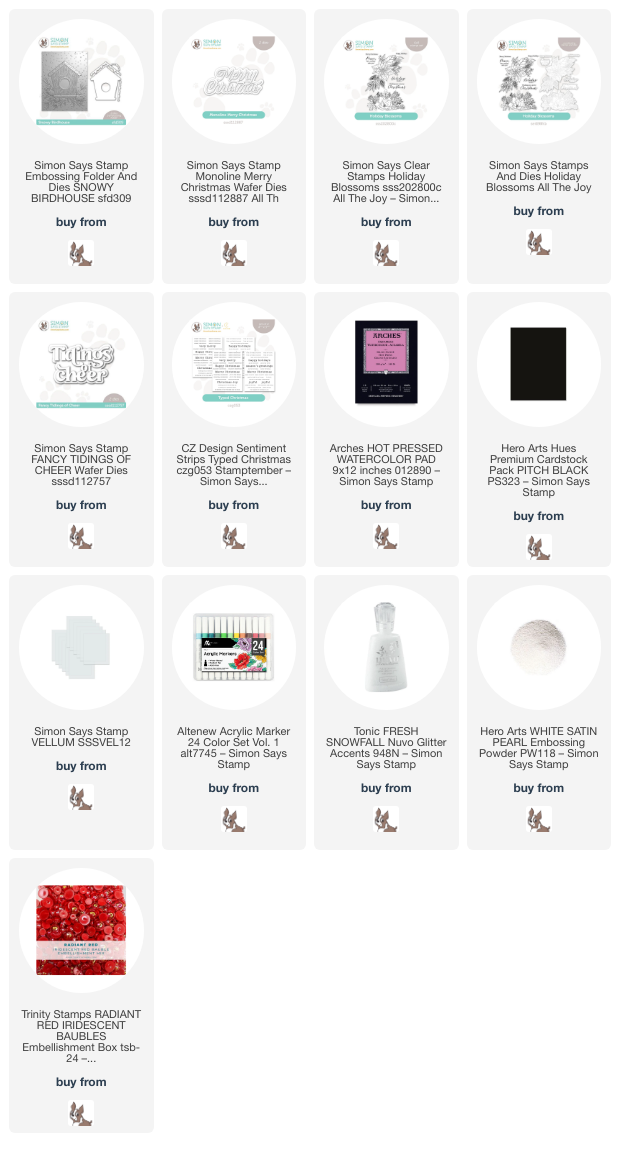
For my first project, I embossed the Snowy Birdhouse image on a slightly-larger-than-A2 panel of Arches Hot Press watercolor paper, then taped it down to my watercolor board to reduce further warping of the cardstock while watercoloring. I used my Schmincke watercolors to add lots of vibrant red to the snowy bird house, dotting the snowflakes with the white marker in the Altenew Acrylic Markers. I also die cut the separate snow pieces from some pearlescent white cardstock and adhered them using liquid adhesive, finally adding some sparkling “snow” on the image using Tonic Snowfall glitter. Between the embossing, various mediums, and glitter, this card front has incredible texture!

For the greeting, I kept things very simple, die cutting the detail layer from the Monoline Merry Christmas die set from Pitch Black cardstock, then adding the shadow layer behind it, cut from some vellum. After allowing plenty of time to dry, I removed the tape from the edges, trimmed the edges of the watercolored panel down 1/8″, then mounted the watercolored piece on an A2 panel of coordinating deep red cardstock. Such a simple, festive card that definitely evokes lots of winter imagery!

For my second card, I applied the same beautiful deep red and dusty blue color palette to the magnolia image from my Holiday Blossoms set. To create a large, full bouquet for an A7 card, I heat embossed the image twice onto some Arches Hot Press watercolor paper using White Satin Pearl embossing powder. I watercolored all of the images using the same color palette, keeping the colors a bit muted and rustic, and adding a pale wash of the same dusty blue watercolor around the edges of both embossed images. This wash of blue helps to enhance some of the white pearl embossed details on this super intricate image, which have the potential of getting lost on the creamy white watercolor paper.
While my images were drying, I taped down an A7 panel of Arches Hot Press watercolor paper onto another watercolor board, then used the same dusty blue watercolor with lots of water to create a lovely background for my large holiday floral bouquet, which also happens to coordinate nicely with the blue wash around the edges of the watercolored florals.

For the greeting, I die cut the detail layer of the Fancy Tidings of Cheer from Pitch Black cardstock and adhered it to a vellum shadow layer. I also trimmed down a coordinating sentiment from the Typed Christmas sentiment cards. I arranged the floral bouquet on the center of my now-dried watercolor background and popped it up with some foam adhesive. I adhered the die cut greeting over the “seam” where the two floral die cuts meet, softening the area behind the crisp black sentiment with the semi-transparency of the vellum. Finally, I added a few red pearls for added shine.
Well, that’s all for my projects today! I have one more project to share with you for Christmas In July, and I’ve saved my favorite for last! Thanks so much for stopping by today, and have a marvelous day!
